Move and rotate a part
On this page you move and rotate a part with the mouse. You type numbers for an exact position and angle. You also see how Snap puts the part on the grid and into the holes.
Before you start
- The scene is empty. Add parts > Structure > Structure > 5 holes is added and selected (see Add parts).
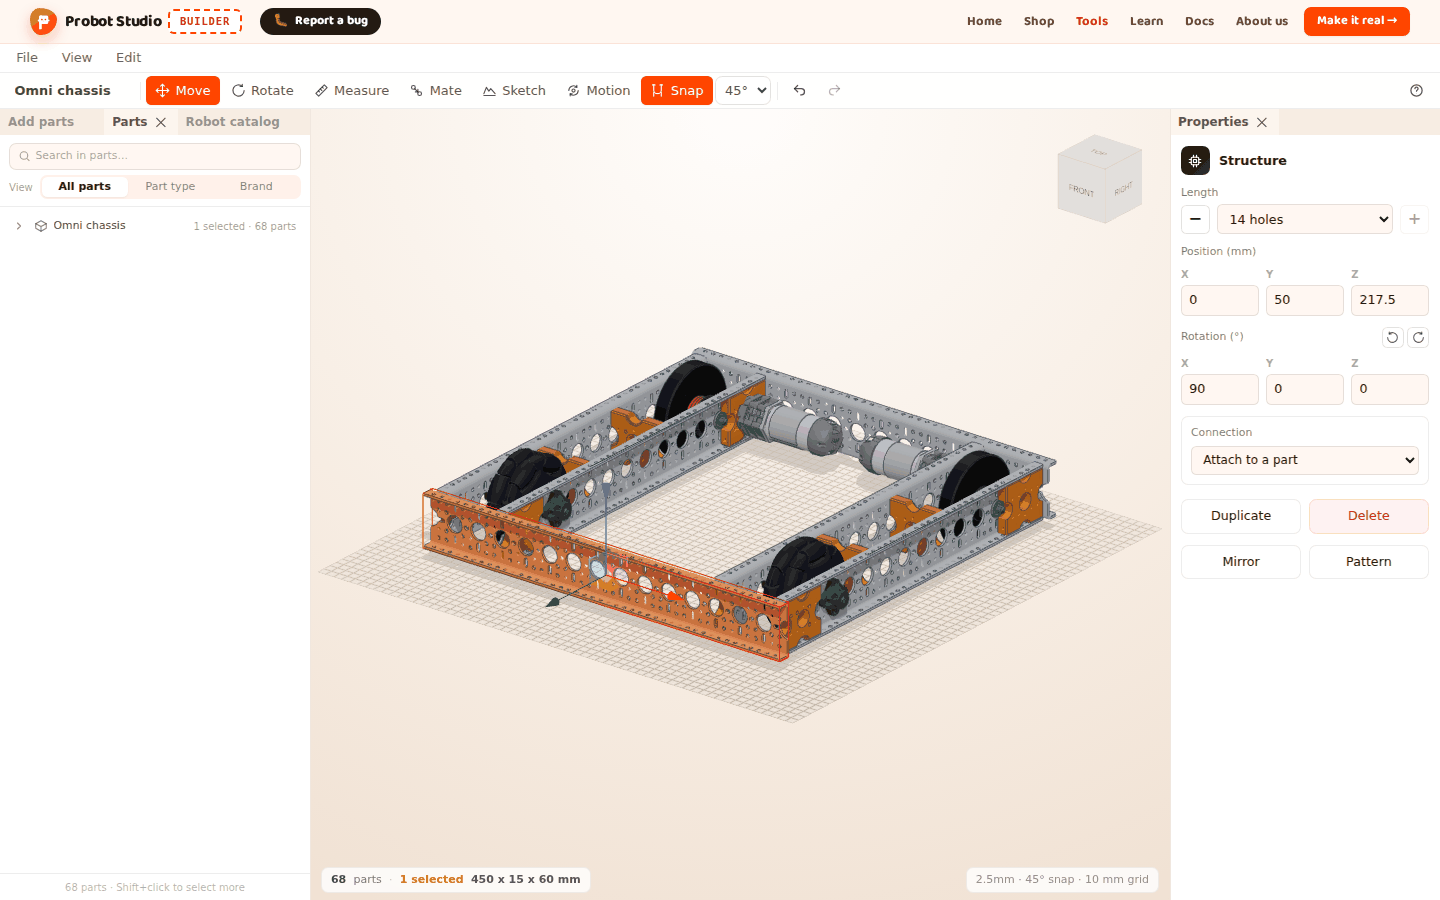
- For the section on moving parts together, the Omni chassis is open in the scene (see Start with a ready-made robot).
- Measure, Mate, Sketch and Motion are off. While they are on, the handles do not appear.
Snap and the grid
Snap in the Toolbar decides how a part moves. It is on when it is orange. Press it to turn it on or off. Builder remembers your choice in this browser.
| Snap on | Snap off |
|---|---|
| The part moves in 2.5 mm steps. | The part moves freely. |
| When a hole of the moving part comes near another hole, the part centers on it (hole magnet). | The hole magnet does not work. |
| Rotating locks to the rotation step (45° by default). | Rotating is free. |
If you hold Shift while you move or rotate, Snap turns off for that moment.
The thin lines of the grid on the floor are 2.5 mm apart. The thick lines are 10 mm apart. The right end of the status bar below the Scene shows these settings: "2.5mm · 45° snap · 10 mm grid". When Snap is off, it says "snap off · 10 mm grid".
Move a part with the handles
- In the Toolbar, press Move (T or M). Three colored arrows appear on the selected part.
- Hold the red arrow with the left mouse button and drag it. The part moves along that axis in 2.5 mm steps.
- Let go of the mouse button.
- To slide the part freely, hold Shift and drag the green arrow.
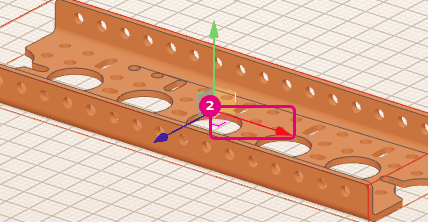
Result: The part stays in its new place. In the Properties panel, the Position (mm) values change.
- The arrows show the part's own axes. On a rotated part, the arrows turn too.
- The squares between the arrows slide the part along two axes at once.
- Each time you let go of the mouse button, that counts as one undo step (Ctrl+Z).
Rotate a part
- In the Toolbar, press Rotate (R). Three colored rings appear around the selected part.
- In the Toolbar, in the rotation step list next to Snap, select 90°. The options are 5°, 15°, 30°, 45° and 90°.
- Hold the green ring with the left mouse button and drag it. The part turns in 90° steps.
- Let go of the mouse button.
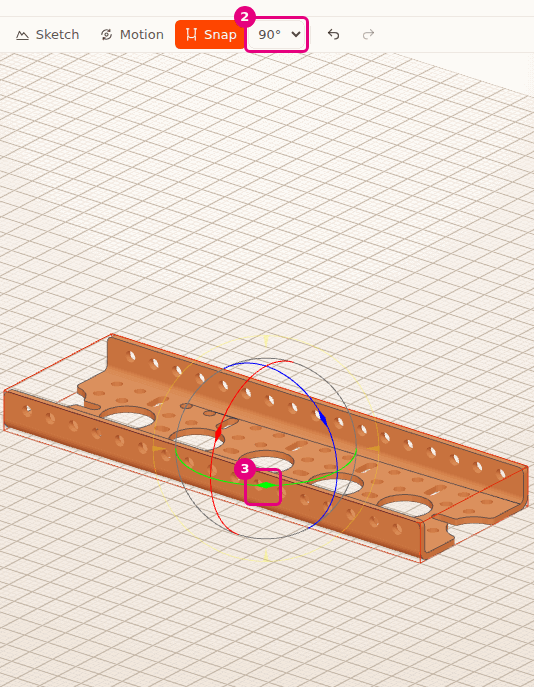
Result: The part turns around the vertical axis. In the status bar, the rotation step "90°" is highlighted.
The rotation step looks faded while Snap is off, but you can still select it. It takes effect when Snap is turned on. Builder remembers the step you pick in this browser.
Enter the position and angle as numbers
When one part is selected, the Properties panel has the Position (mm) and Rotation (°) fields. Each one has an X, a Y and a Z box. Y is the height.
- In the Properties panel, under Position (mm), press the X box.
- Type
40. The part moves in the scene as you type. - Press Enter. The value is applied.
- Next to the Rotation (°) heading, press the +90° around Y icon. The part turns 90°
around the vertical axis.
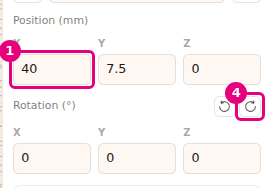
Result: The part's X position becomes 40 mm and the part makes a quarter turn.
- Esc undoes what you typed and leaves the box. Pressing anywhere outside the box applies what you typed.
- In the Rotation (°) boxes, you type degrees.
- -90° around Y and +90° around Y always turn the part 90°. They do not depend on Snap or the rotation step.
- While several parts are selected, these fields do not appear. Move the selection with the handles.
Move several parts together
While several parts are selected, one set of handles appears in the middle of the parts. The selection moves and turns as if it were one solid object.
- In the Left panel, select the Parts tab.
- Select the "Omni chassis" row. All 68 parts of the robot are selected.
- In the Toolbar, press Move (T).
- Drag the blue arrow of the handles in the middle of the parts.
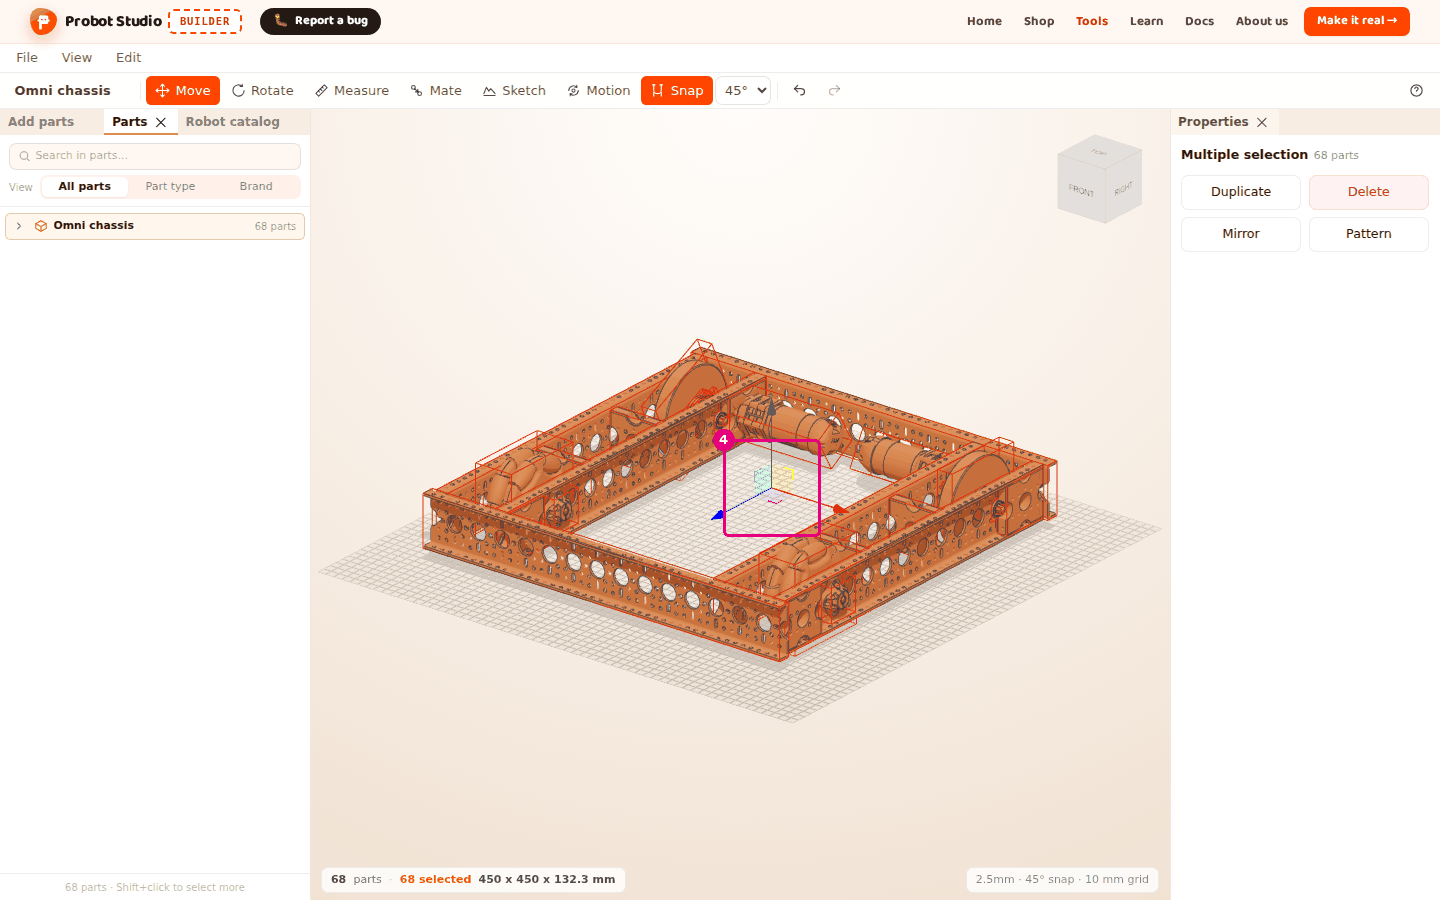
Result: All the parts of the chassis slide together and keep the same distance between them.
If the selection has a hidden part, the handles do not appear. First show the hidden parts or take them out of the selection (see Select, hide and delete parts).
Having trouble?
- No arrows or rings on the selected part: Measure, Mate, Sketch or Motion may be on. If Measure or Mate is on, press Move. If Sketch is on, press Sketch to finish the sketch. If Motion is on, press Motion to turn it off. If the part is hidden, show it first.
- The part will not make small moves and keeps jumping to the same spots: Snap is on. Hold Shift while you drag, or turn off Snap. See Troubleshooting.
- The part slides into a hole I do not want: The hole magnet is working. Hold Shift. See Troubleshooting.
- The rotation step list is faded: Snap is off. Turn on Snap.
- The number I typed in a Position box changed back: You may have pressed Esc or typed something that is not a number. Type the number again and press Enter.
- "Editing is off in assembly mode" appears in the corner: In the Assembly strip, press Switch to editing. See Troubleshooting.