First 10 minutes
On this page you open a ready-made robot, move around it, mate a part to it and save your project. At the end of each section you check that you are in the right place.
Before you start
- Computer, browser and mouse: What you need.
- You do not need an account.
Open Builder
- In your browser, open the address
https://probotstudio.com/builder/?dil=en. - In the window that says "The design tool is in development", press Got it, continue.
- If the cookie banner appears at the bottom of the screen, press Accept or Only necessary.
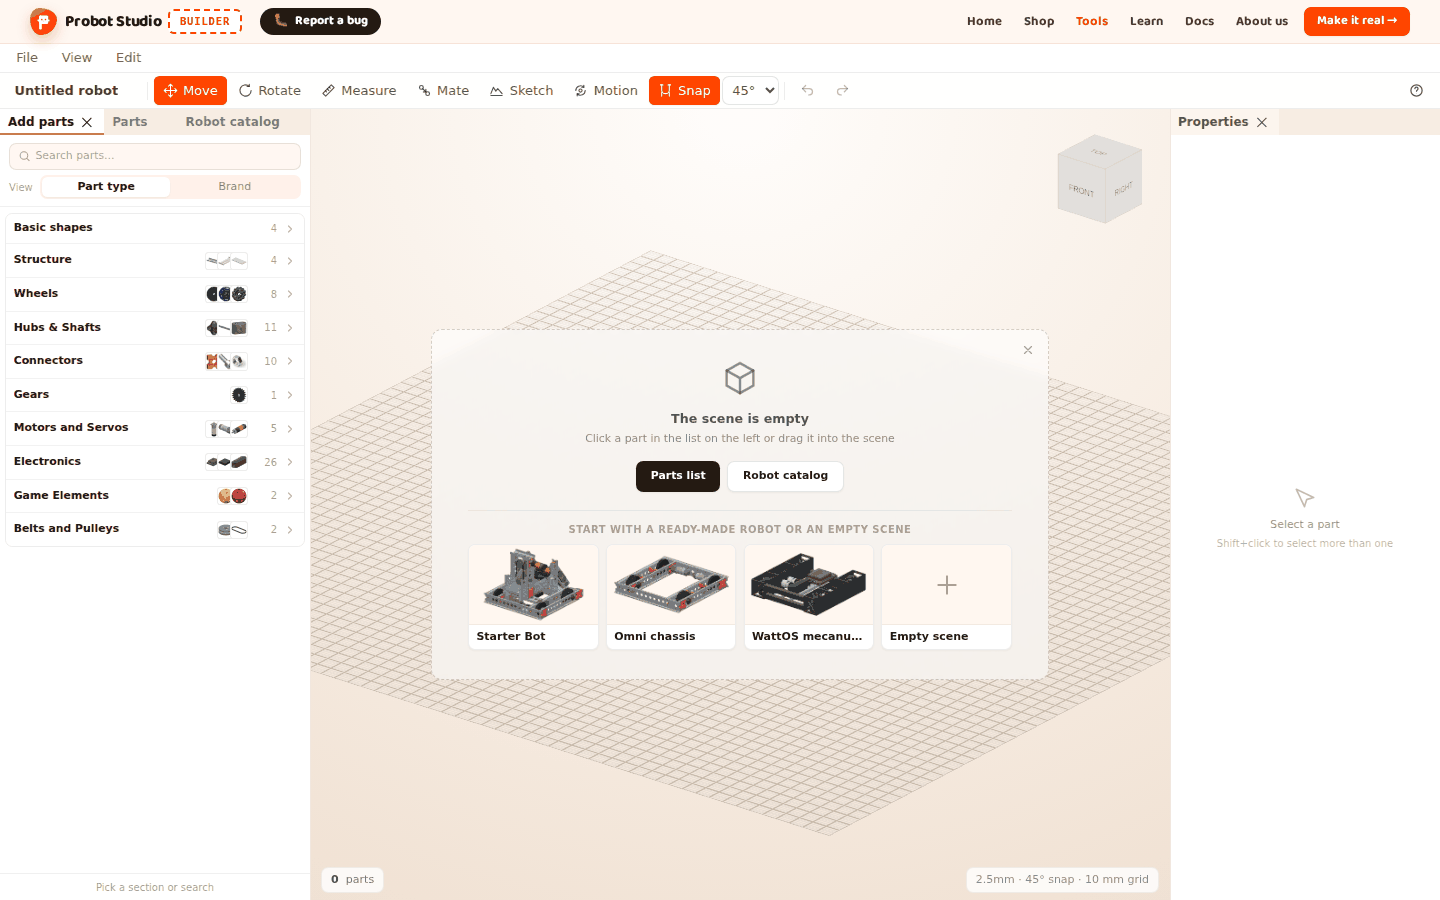
Check: In the middle of the scene, a card says "The scene is empty". Ready-made robot cards are below it. If there is no card, your earlier work in this browser has opened. Save it first with File > Save (download JSON), then select File > New.
Load a ready-made robot into the scene
- On the empty scene card, press the Omni chassis card.
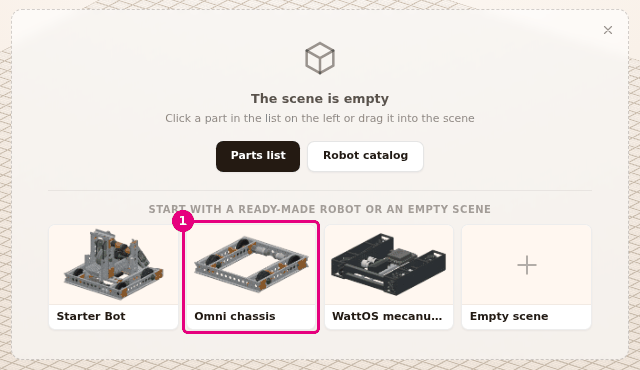
- The robot comes into the scene in a few seconds. In the Menu bar, press View.
- To see the whole robot, select Fit view.
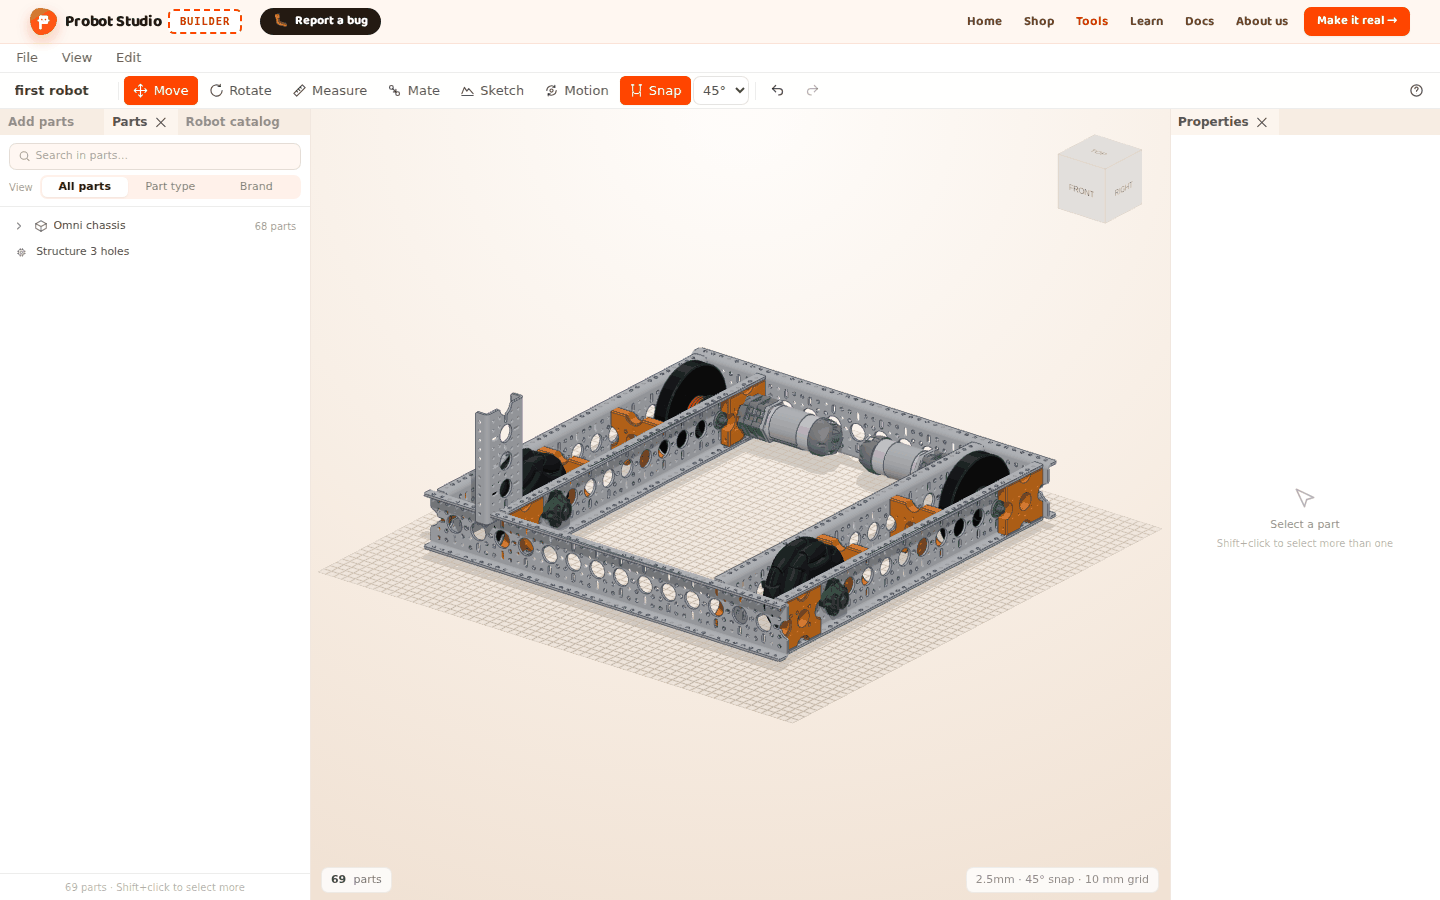
Check: A four-wheel chassis stands in the scene. The status bar at the bottom of the Scene shows "68 parts".
Tip
More ready-made robots are in the Robot catalog tab of the Left panel. See Start with a ready-made robot.
Move around the robot
You move the camera with the mouse. The left button only selects.
- In the Scene, hold down the right mouse button and drag. The camera rotates around the robot.
- Turn the mouse wheel. The camera zooms in or out.
- Hold down the middle button (the wheel) and drag. The view pans.
- On the view cube in the corner of the Scene, press the TOP face.
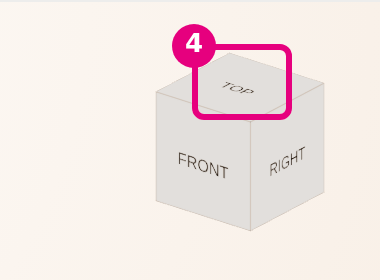
Check: You see the robot from the top. If the robot is out of view, select View > Fit view again.
If these mouse buttons do not suit you, select SolidWorks or Fusion 360 in the MOUSE CONTROLS group of the View menu. See Move around the scene.
Add a part to the robot
- In the Left panel, select the Add parts tab.
- Select the Structure section, then select the Structure row.
- In the list of lengths that opens, select a length. The part is added to the scene and selected.
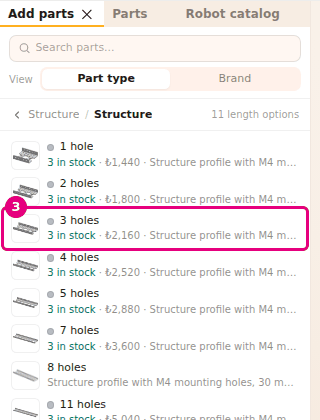
- In the Properties panel, press + next to the Length selector. The part changes to the next longer length.
Check: The top of the Properties panel says "Structure". The status bar says "69 parts · 1 selected".
You can also drag the part into the scene and drop it on top of the robot. See Add parts.
Mate the part to the robot
The Mate tool fits a hole of one part onto a hole of another part, on the same axis.
- In the Toolbar, press Mate (B).
- Click a hole on the Structure part you added. The hole is highlighted.
- Click a hole on the top face of the chassis. The part moves into place on that hole.
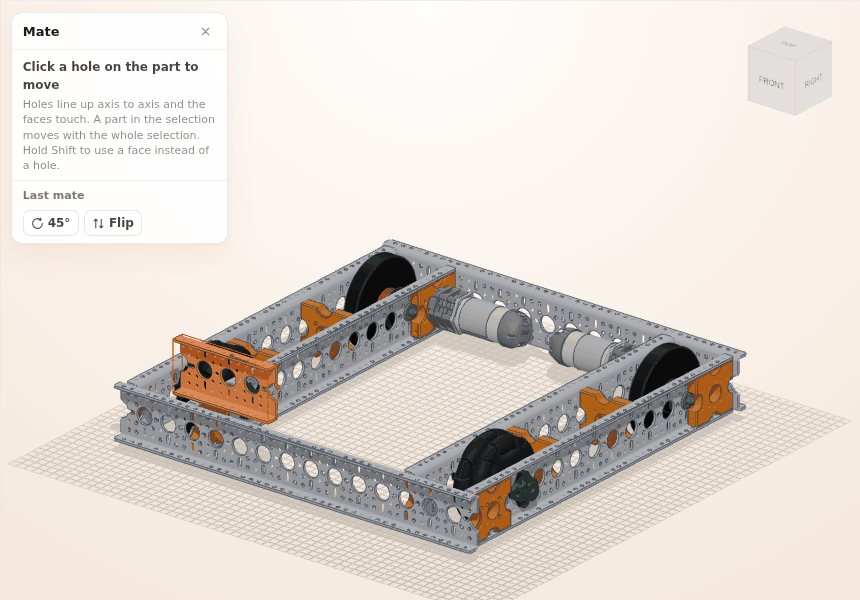
- If the part does not sit the way you want, press R to rotate it around the hole axis. Press F to flip it.
- To close the tool, press Esc twice. The first press stops adjusting the last mate. The second press closes the tool. The × in the Mate panel closes the tool in one press.
Check: The Structure touches the face of the chassis, and their holes line up. If you mated it in the wrong place, select Edit > Undo (Ctrl+Z).
Save your project
Builder saves your work in this browser by itself. To open it somewhere else, save it to a file.
- In the Toolbar, press the project name. It says "Omni chassis" because you loaded that ready-made robot.
- Type
first robotand press Enter. - Select File > Save (download JSON).
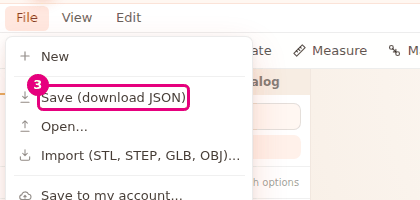
Check: The browser downloaded first robot.json. In the file name, every character of the project
name other than letters, digits and spaces becomes _. Later you open this file with File >
Open....
Next step
- Watch the robot being built part by part: Build the robot step by step
- Turn the wheels: Set up joints and try the motion
- Order the parts: Make it real: send the parts list to the shop cart