Group parts and attach them to each other
On this page you make parts into one group with Group and attach a part to another part. A group makes selecting easier. An attachment tells a part which other part to move with.
Before you start
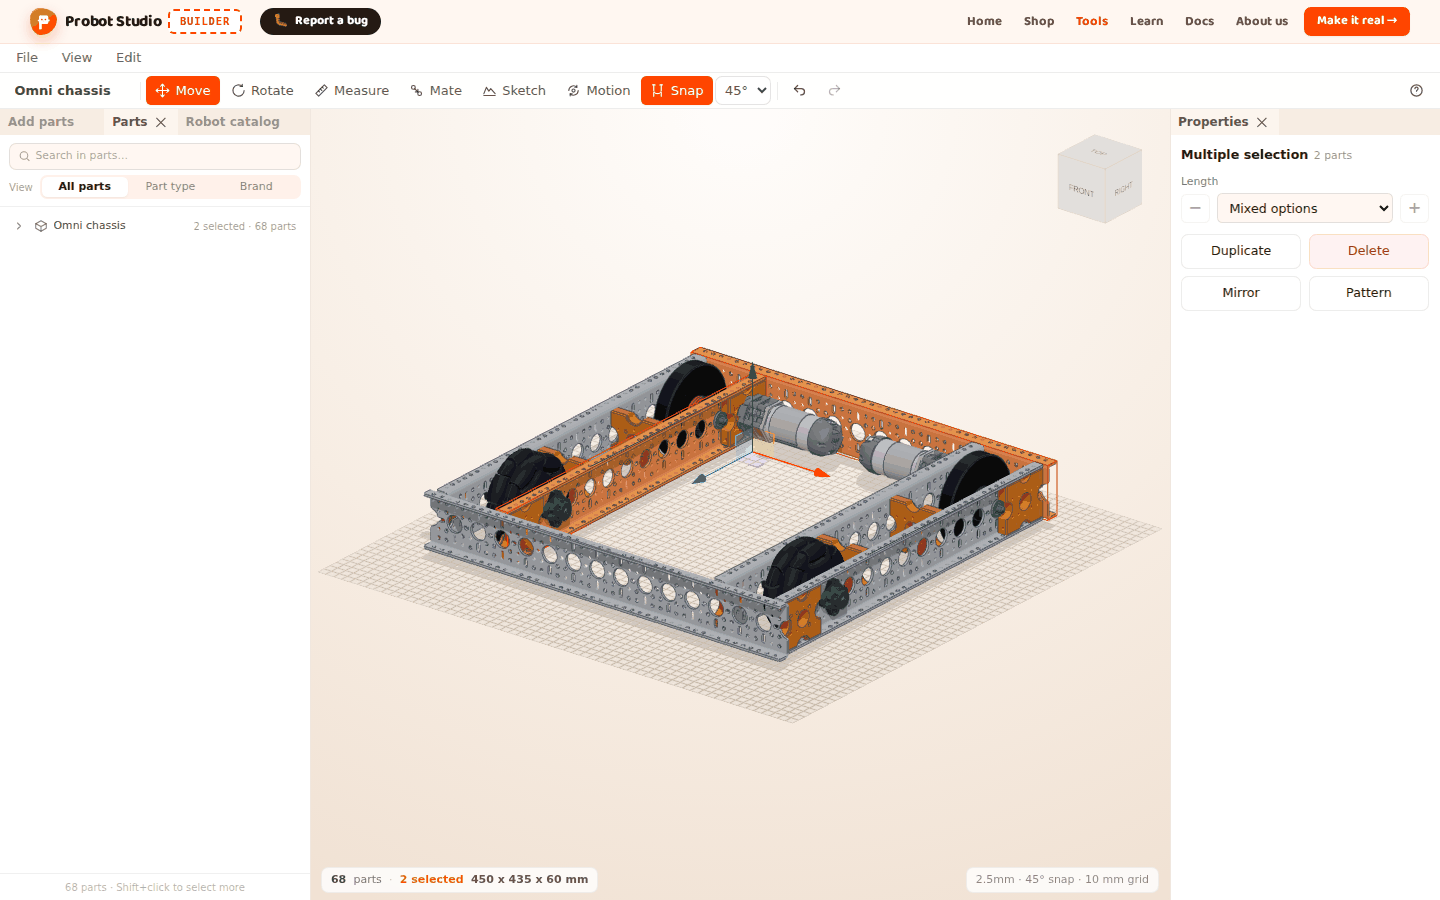
- The Omni chassis is open in the scene (see Start with a ready-made robot).
- You know how to select more than one part with Shift (see Select, hide and delete parts).
Learn the difference between a group and an attachment
Both keep parts together, but they do different jobs.
| Group | Attachment | |
|---|---|---|
| How you make it | Group in the context menu | By itself when you use the Mate tool, or Properties > Connection > Attach to a part |
| Selecting | Clicking one member selects the whole group. | Each part is selected on its own. |
| Moving | The group is selected, so it all moves together. | One way: when the part it is attached to moves, the attached part comes along. Moving the attached part does not move the other one. |
| Deleting | Delete on the Group (n) row in the Parts tab deletes the whole group. | If the part it is attached to is deleted, the attached part stays where it is and loses its attachment. |
| Motion | Does not set up a joint. | A joint is set up on an attachment. The robot structure that goes to Sim also comes from the attachments. |
| Where you see it | The Group (n) row in the Parts tab | "Attached to X" or "N parts attached to this" in Properties > Connection |
In ready-made robots, the attachments of the turning parts (shafts, gears, wheels) are set up while the robot loads.
Group the parts
Group makes more than one part into one group. At least 2 parts must be selected for it to appear in the menu.
- In the Left panel, select the Parts tab.
- In the Search in parts... box, type
Structure. - In the list, select the first Structure row.
- Hold Shift and select the second Structure row.
- In the Scene, right-click one of the selected parts.
- In the context menu, select Group.
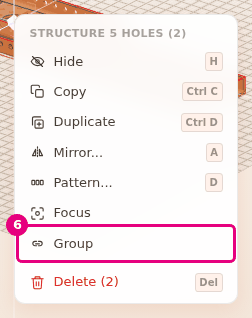
Result: A "Parts grouped" notification appears. In the Parts tab, a "Group (2)" row appears above the two parts.
If the selection holds only part of a group, the whole group joins the new group. The existing group stays inside the new group as a subgroup. If the selection is already a whole group, Group does not appear.
Select one part in a group
When you click a grouped part in the Scene, the whole outermost group is selected. Click the same part again to go down one level. The inner group is selected first, and the part itself last.
In the Parts tab, pressing the Group (n) row selects the group. Pressing a part row under the group selects only that part. The Hide and Delete icons on the row apply to the whole group.
Ungroup
- In the Parts tab, select the Group (2) row. All the parts of the group are selected.
- In the Scene, right-click one of the selected parts.
- In the context menu, select Ungroup.
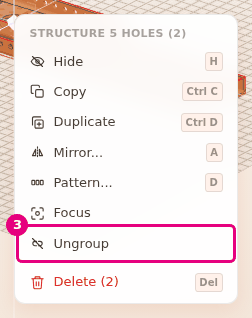
Result: An "Ungrouped" notification appears. The Group (2) row goes away, and the parts stay where they are.
Ungroup appears only when the selection is a whole group, and it ungroups only the outermost level. Inner groups stay.
Attach a part to another part
When you mate a part with the Mate tool, it is attached to the target part by itself. You can also make the attachment by hand.
- In the Left panel, select the Add parts tab.
- Select the Structure section, then select the Structure row.
- From the list of lengths, drag one length into the Scene and drop it on the top face of the chassis. The part is selected.
- In the Properties panel, open the Attach to a part list in the Connection section.
- In the list, select a part of the chassis (for example Structure 13 holes).
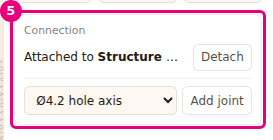
Result: A "When X moves, this part moves with it" notification appears. The Connection section says "Attached to X".
If you select the part you attached it to, its Connection section says "N parts attached to this". N is the number of all parts attached directly to that part, and your attachment adds one. When the Omni chassis loads, its wheel shafts attach by themselves to some Structure 13 holes profiles, so you may see 2 or 3 there.
The list shows only the parts that touch this part (within 3 mm). If no part touches it, the nearest parts are shown. The list has at most 8 parts, with the nearest at the top.
Detach a part
Warning
Detaching a part also removes its joint. If you detached by mistake, select Edit > Undo (Ctrl+Z).
- In the Scene, select the attached part.
- In the Properties panel, scroll down to the Connection section. It shows the "Attached to X" text.
- In the Connection section, press Detach.
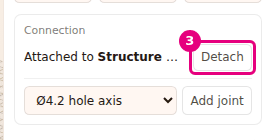
Result: The Attach to a part list takes the place of the "Attached to X" text. The part stays where it is.
To detach more than one part at once, select the parts, right-click one of them and select Detach in the context menu. The menu item appears only if the selection has an attached part. If more than one part is attached, the count is shown next to its name: Detach (3). The notification is "3 parts detached" or "Detached".
Having trouble?
- No Group in the right-click menu: Only one part is selected, or the selection is already a whole group. Select at least two parts.
- I cannot move a single part of a group: Click the same part again to go down a level, or select the row under the group in the Parts tab.
- The Connection section says "No other part to attach to": There is no part in the scene to attach to, or all the other parts are already attached to this part.
- The part I want to attach to is not in the list: The list shows the parts that touch, or the 8 nearest parts. Move the part so it touches the other one, or mate it with the Mate tool. The list also leaves out the parts attached to this part directly or indirectly. If part A is attached to B, A does not appear in B's list. Detach A first.
- "The target part is attached to the part being moved. Detach it in Properties first" appears while using Mate: The target part is attached to the part you are moving. Select the target and press Detach in the Connection section. See Troubleshooting.
Next step
- Turn an attached part: Set up joints and try the motion
- Mate parts hole to hole: Mate parts by their holes